Xrf Analyzer Handheld Spectrometer Price Xrf Spectrometer Mineral Metal Rohs Analyzer Precious Metal Xrf Spectrometer Xrf Metal Analyzer Alloy Element Metal Analyzer alloy Analyzer Portable Xrf Gun M
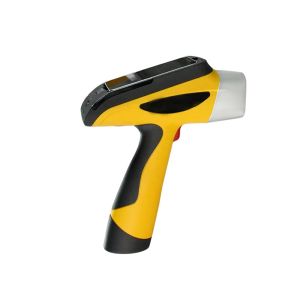
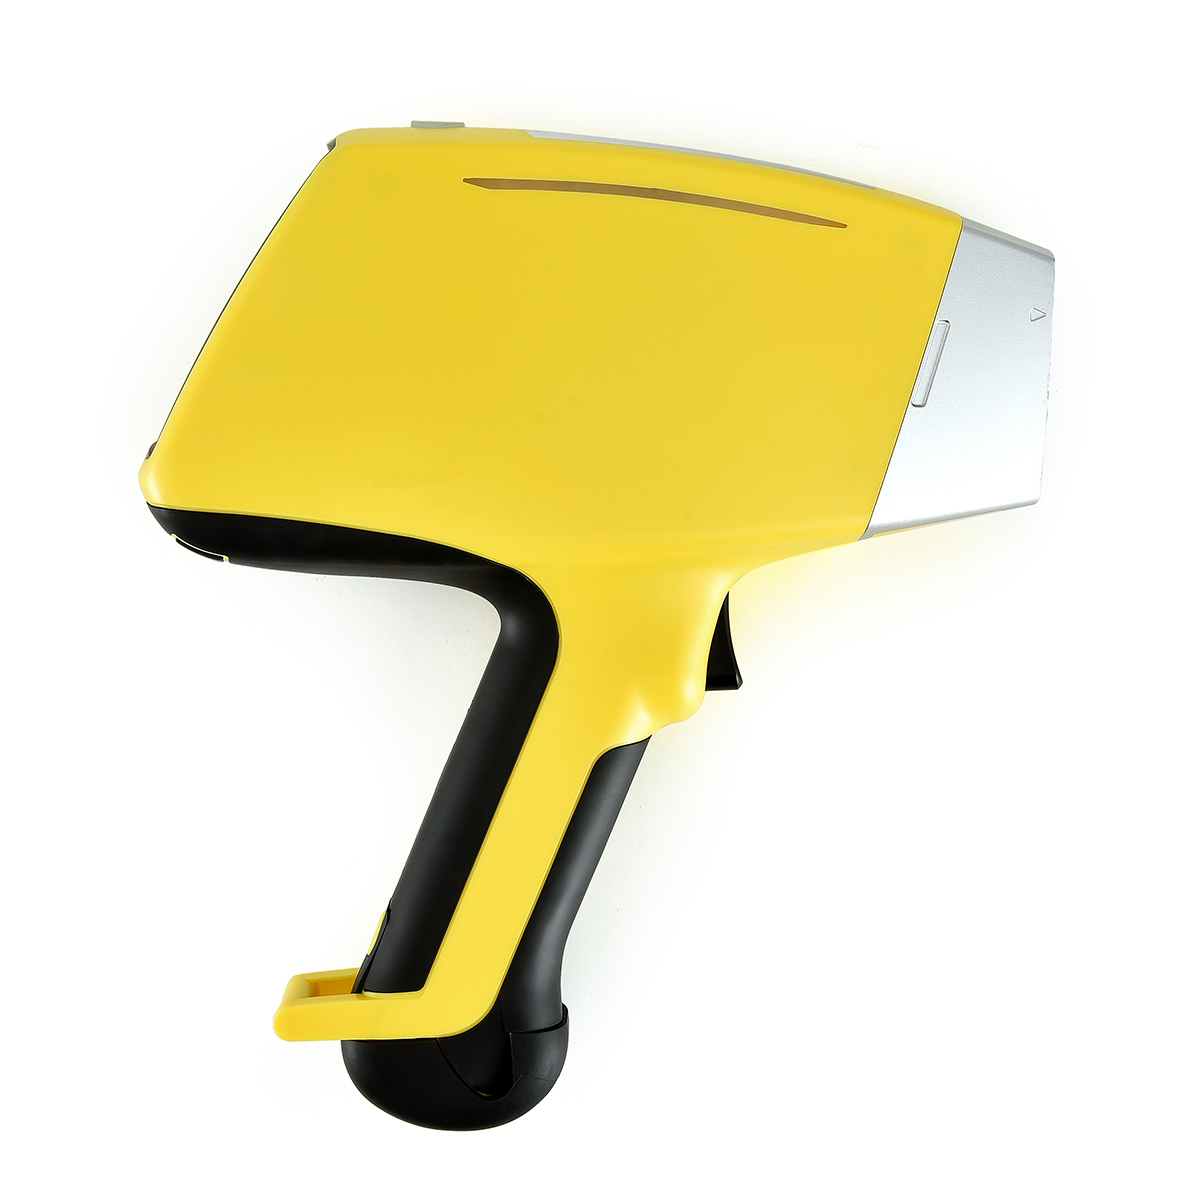
 In on-site mining inspections, the handheld ore analyzer has emerged as a pivotal tool for rapidly obtaining information on ore composition, thanks to its portability, high precision, and non-destructive testing capabilities. The operational workflow primarily consists of the following steps:
I. Pre-Inspection Preparations
1. Instrument Status Check:
Ensure the device has sufficient battery power. After powering on, allow the instrument to complete its self-diagnostic routine, and verify that the detector window is free of dirt, damage, or obstructions. Based on the specific ore types present in the mining area, select the appropriate analysis mode via the instrument's interface; if necessary, use standard reference samples to perform a calibration to enhance the reliability of the test results.
2. Sample Pre-treatment:
Select an area on the ore surface that is flat, smooth, and free from weathering or contamination. If impurities are present on the surface, use sandpaper to grind or a cleaning cloth to wipe the area to expose a fresh cross-section, thereby eliminating potential interference. For large ore lumps, it is recommended to crush and grind them into a uniform powder to ensure the accuracy of the compositional analysis.
II. On-Site Inspection Operations
1. Sample Contact and Positioning:
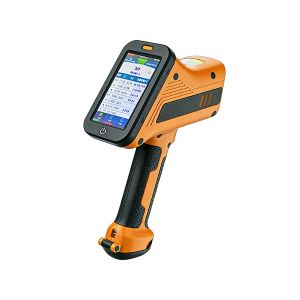
Press the instrument's detector window firmly and perpendicularly against the ore surface, maintaining stable contact to prevent signal deviations or light reflections caused by air gaps. If the mining environment is challenging (e.g., involving strong ambient light or high humidity), select a shaded and well-ventilated location for operation to ensure the electronic components and optical system function correctly.
2. Initiating Analysis and Data Acquisition:
Pull the trigger to initiate the analysis. The instrument utilizes X-ray Fluorescence (XRF) technology to excite the elements within the ore and capture their characteristic signals. During the analysis, keep the device stationary and avoid any shaking or external physical interference. The analysis typically takes 10 to 30 seconds; upon completion, the screen automatically displays the identified elements and their respective percentage concentrations. The device also supports multi-point analysis to calculate an average value, thereby enhancing the representativeness of the results.
III. Data Management and Application
1. Result Recording and Export:
Analysis data can be saved using the instrument's built-in storage function and subsequently transferred to a mobile device or computer via a USB connection. The accompanying software can generate standardized reports, which are valuable for delineating ore body boundaries, assessing ore grades, or optimizing mining plans.
2. Anomaly Handling and Re-inspection:
If the analysis results exhibit abnormal fluctuations, the sample surface should be cleaned again, or a different inspection point should be selected. Additionally, verify the instrument's calibration status to ensure accuracy. In the event of an equipment malfunction, immediately cease use and contact technical support; do not attempt to disassemble the device yourself, as this may result in damage.
IV. Equipment Maintenance and Safety
Upon completion of testing, switch off the power supply and clean the detection window and housing. Use a soft cloth for wiping to prevent corrosion caused by chemical reagents. For long-term storage, remove the batteries and place the device in a dustproof, moisture-proof, and shock-resistant protective case; perform periodic maintenance and calibration to extend the equipment's service life.